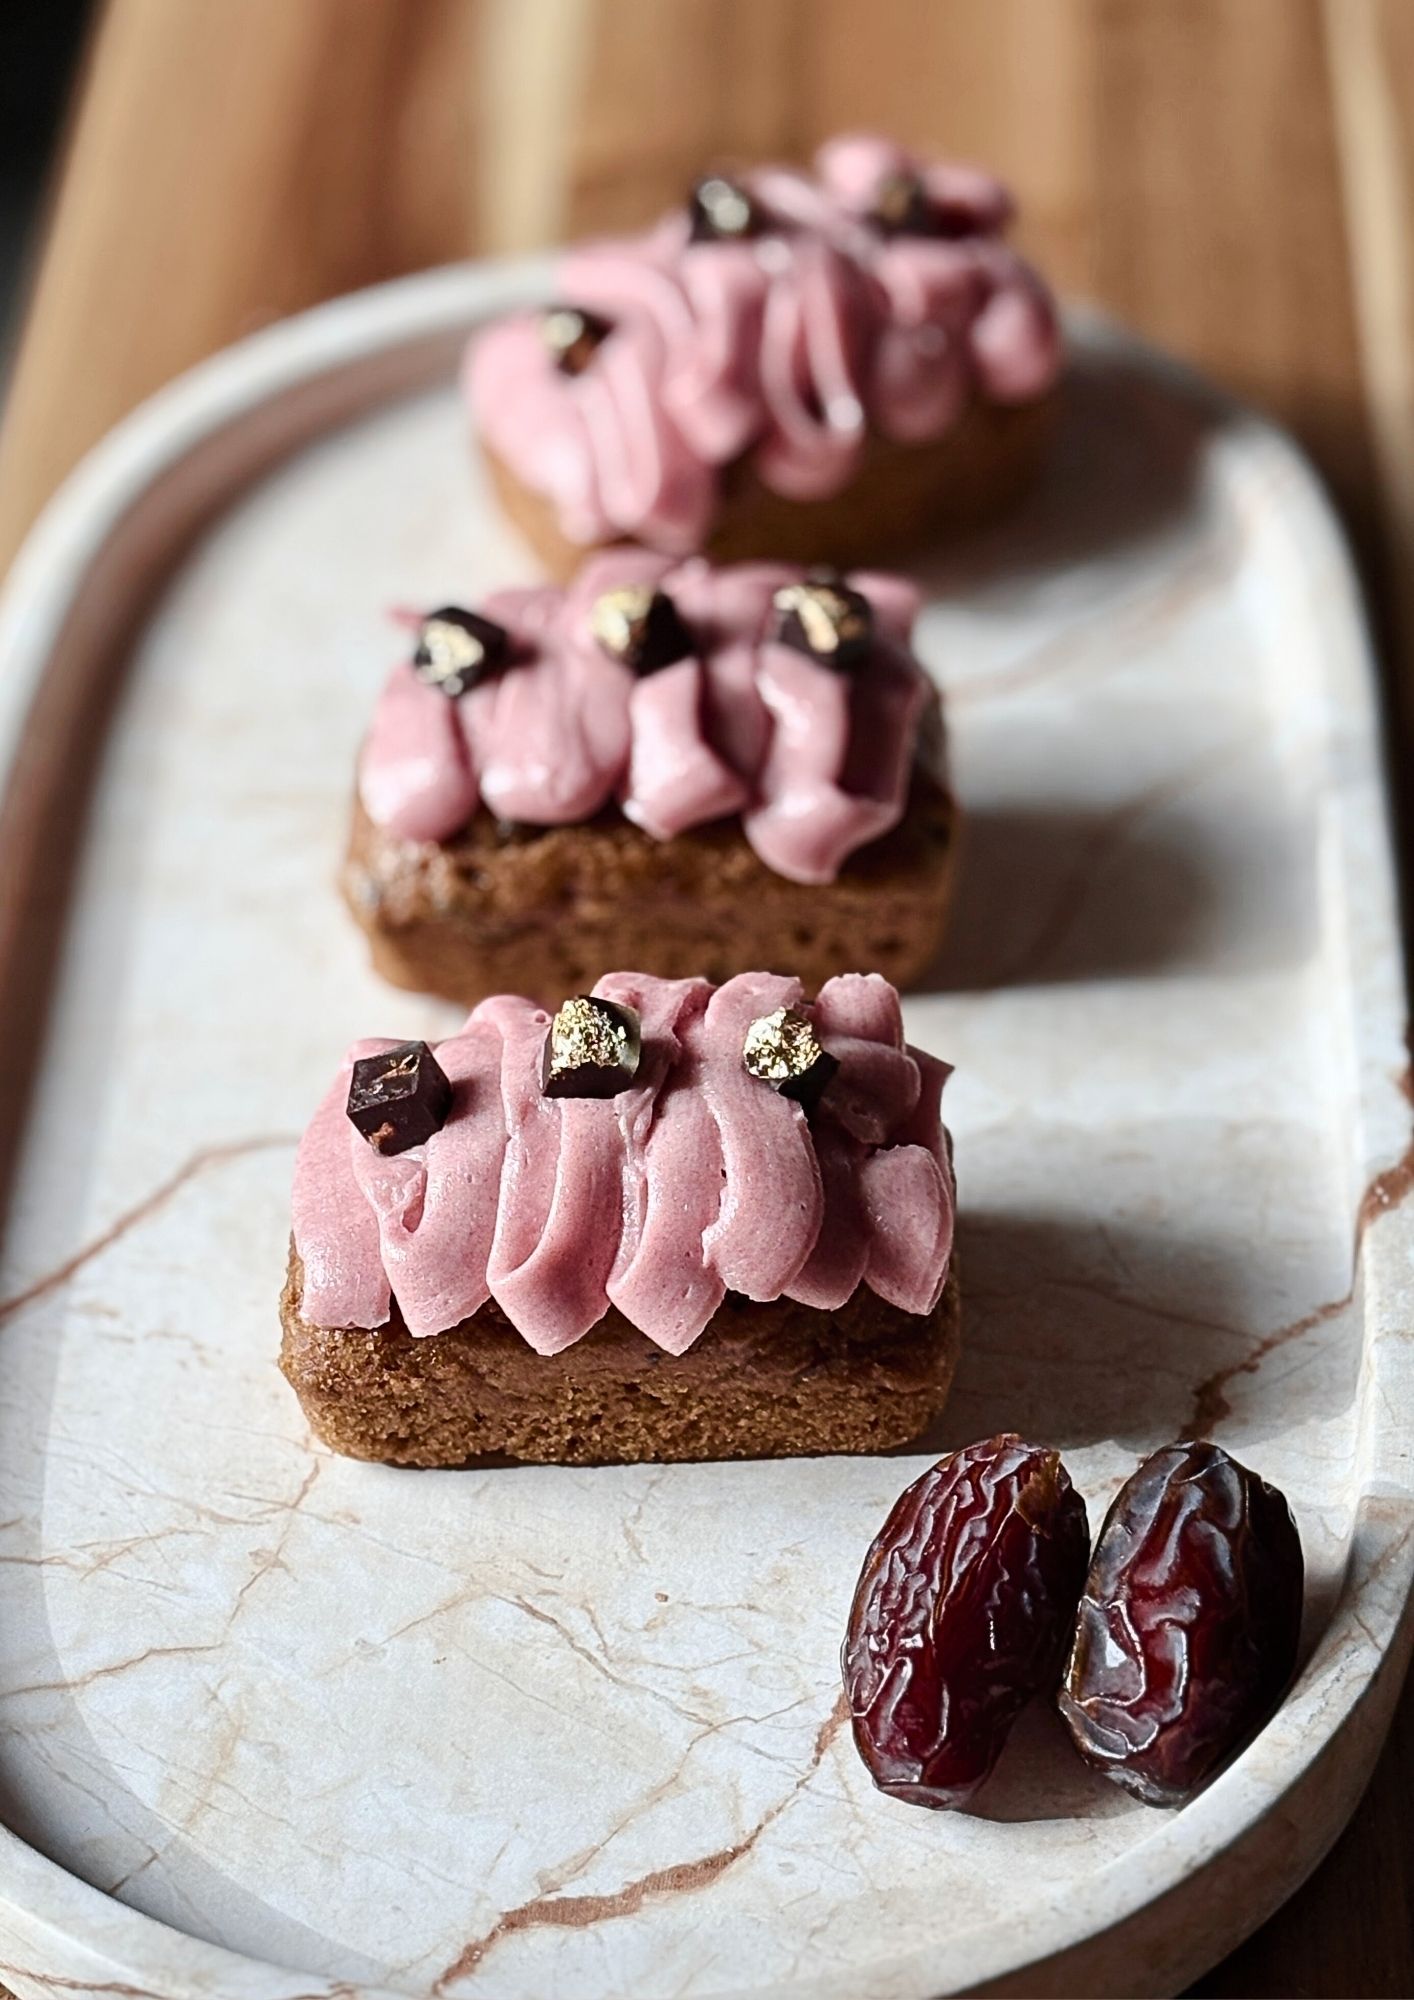
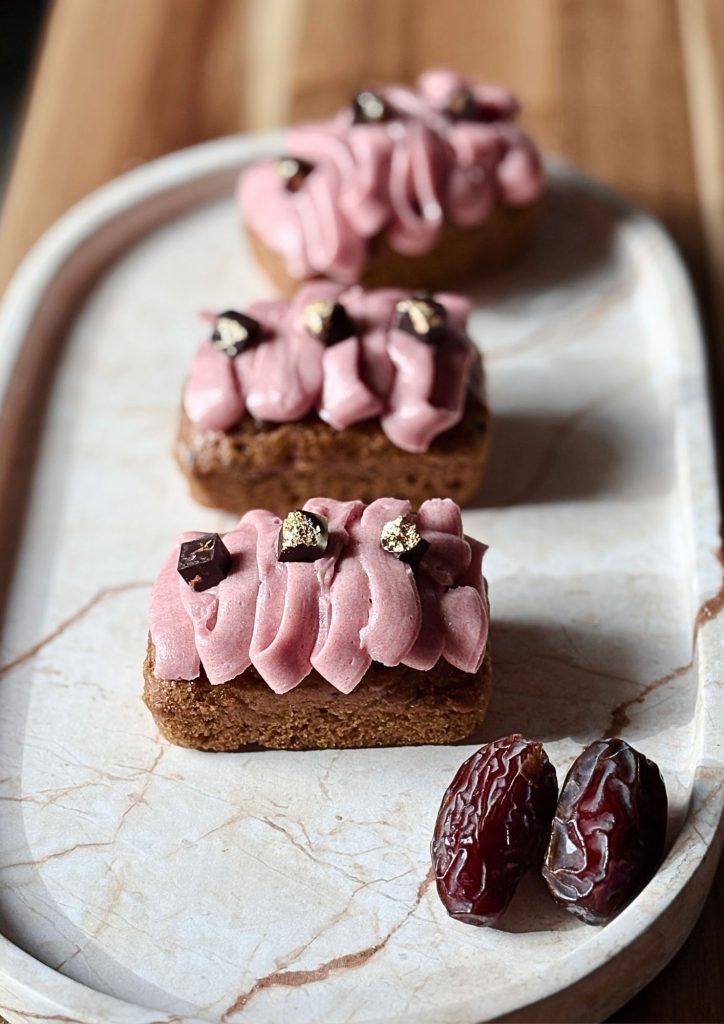
A soft sticky fig cake made with dried figs, coconut sugar, vanilla, cinnamon and ginger, finished with a creamy vanilla buttercream. It is rich, warmly spiced and comforting, with a moist figgy crumb and sweet buttery frosting.
SERVES 10 TIME: 1 HOUR 15 MINS ~ 430 calories per serve ~ 4g protein per serve
Ingredients
Cake Batter:
200g dried figs, chopped
1 tsp bicarbonate of soda
125g unsalted butter,
150g coconut sugar
2 large eggs
1 tsp vanilla extract
200g self-raising flour
1 tsp ground cinnamon
½ tsp ground ginger
Buttercream Icing:
150g unsalted butter
300g icing sugar, sifted
1–2 tbsp cream
1 tsp vanilla extract
Method
Prepare the figs: Preheat oven to 160°C fan. Place chopped figs and bicarbonate of soda in a bowl. Pour over boiling water, stir, and set aside to soften for 10–15 minutes.
Make the cake batter: In a bowl, cream together butter & sugar. Beat in the eggs one at a time, then add vanilla. Fold in the flour, spices, and salt. Stir through the fig mixture. Pour into the prepared tin and bake for 35–45 minutes.
Make the buttercream: Beat softened butter until pale and fluffy. Gradually add icing sugar, beating well. Add vanilla and enough milk or cream to reach a smooth, spreadable consistency.
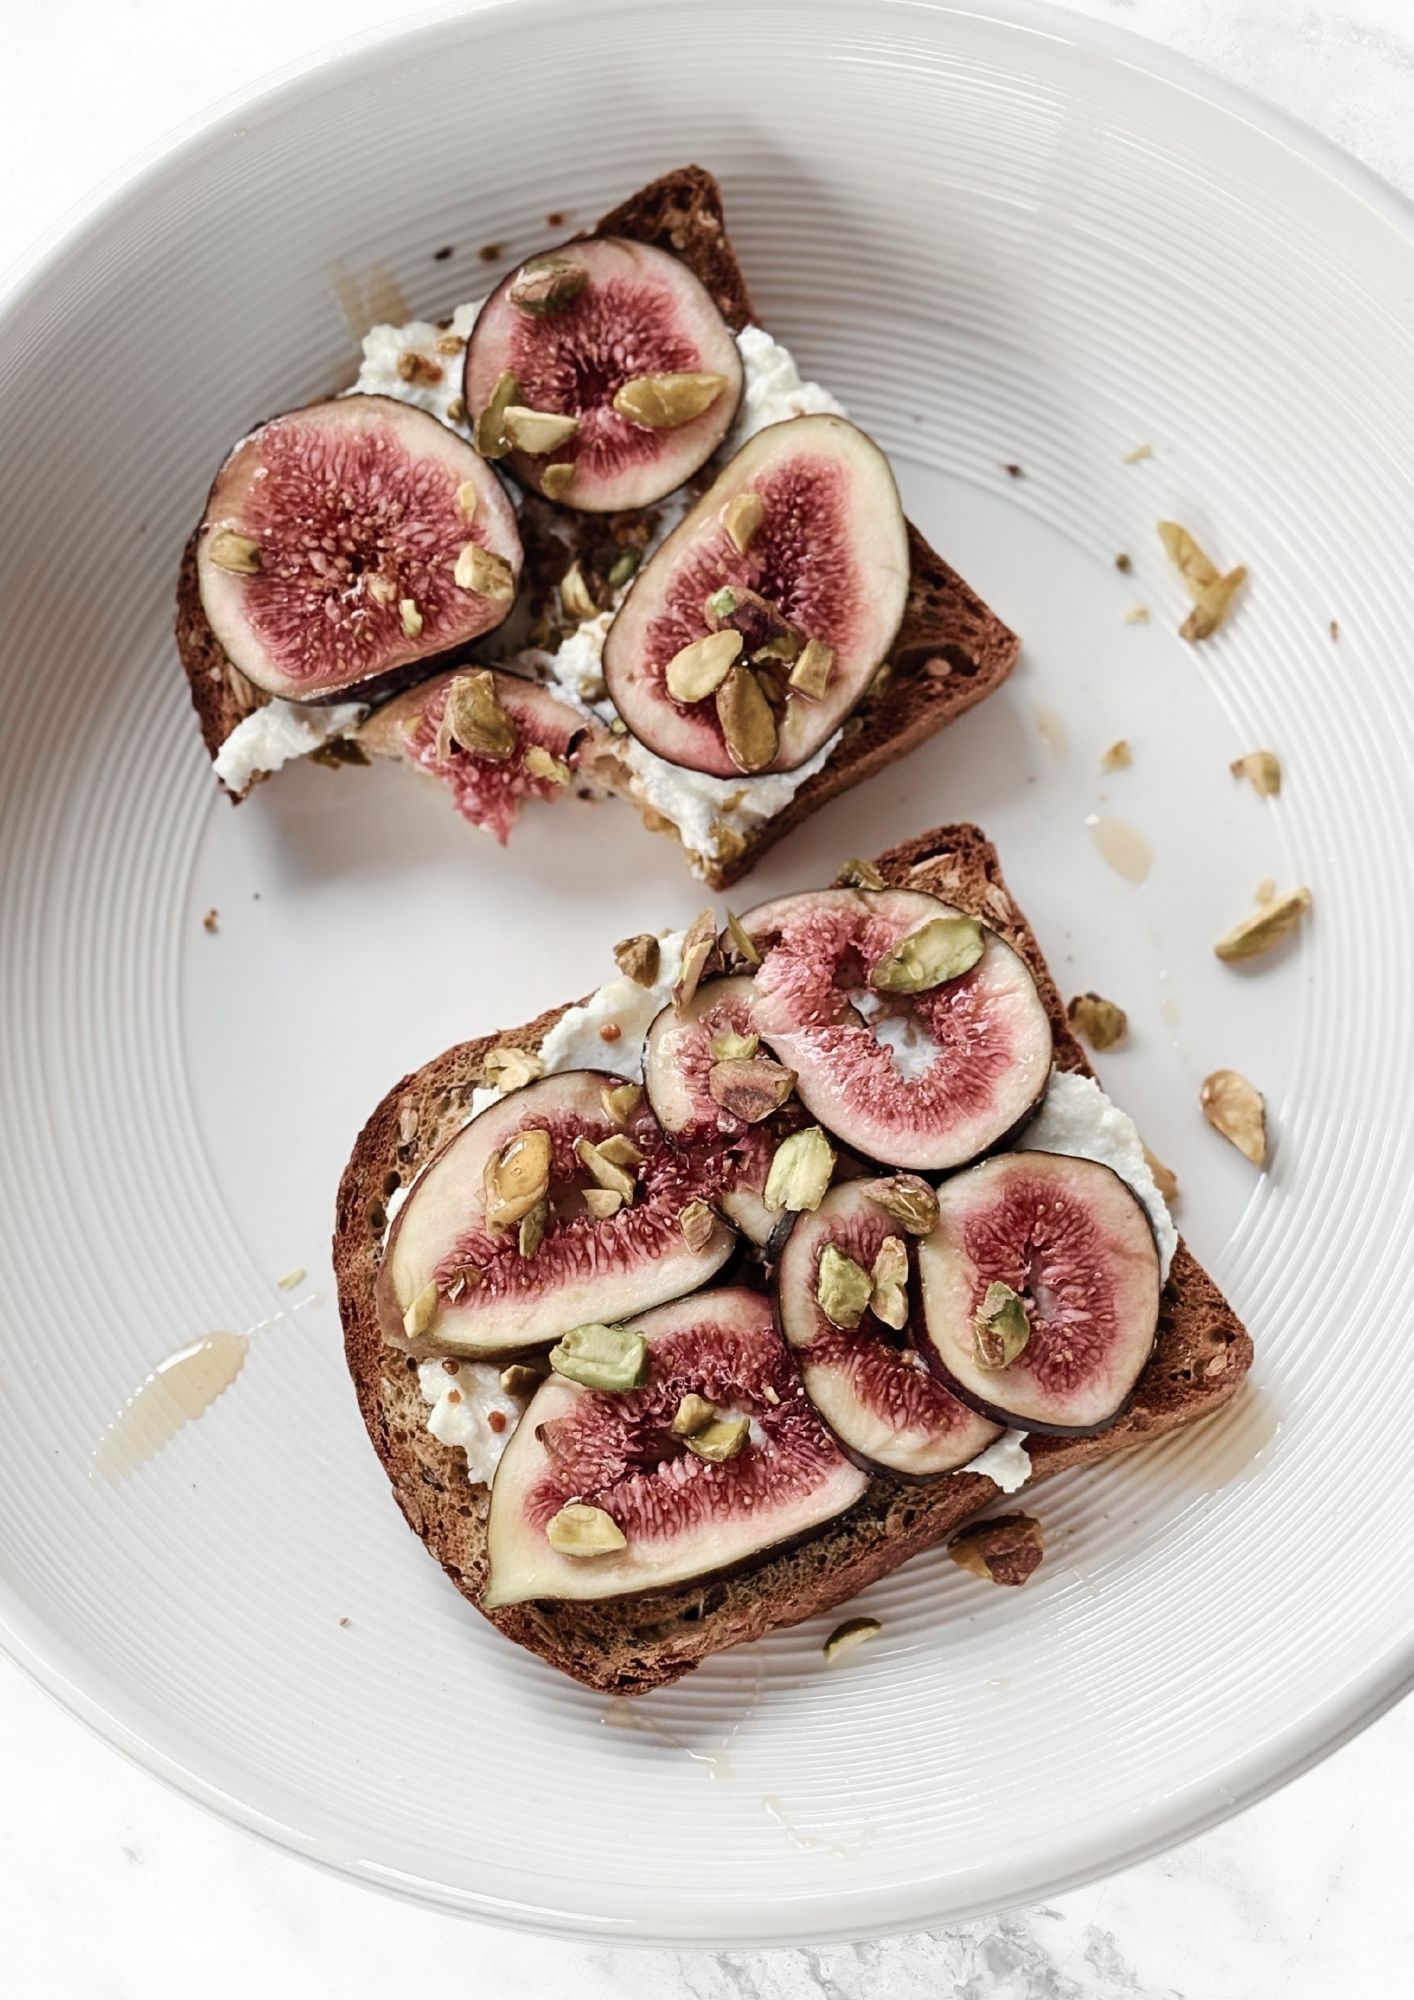
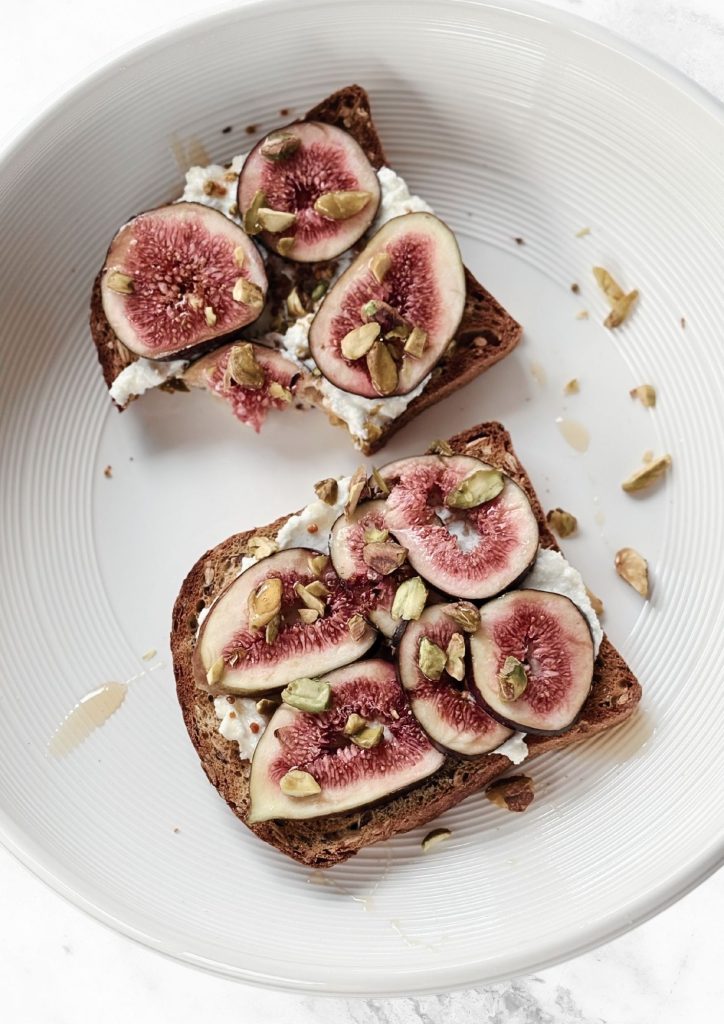
Whipped goats cheese toast w figs and pistachio crumbs is sweet, creamy and slightly indulgent. This is the kind of toast that feels effortless but looks elevated — perfect for slower mornings or a relaxed brunch at home.
Why This Whipped Goats Cheese Toast w Figs and Pistachio Crumbs Works
Whipped goats cheese toast w figs and pistachio crumbs comes together in just 10 minutes, but the combination of tangy goat cheese, sweet figs and crunchy pistachio feels special enough for entertaining. If you love figs, our Sticky Fig Cake is another lovely way to use them while they’re in season.
SERVES 2 TIME: 10 MINS ~ 350 calories ~ 21g protein
Ingredients
2 slices of protein bread
⅓ cup goat’s cheese
2 figs, sliced
¼ cup shelled pistachios, finely chopped
1 tbsp honey
½ tsp vanilla extract
Method
In a small bowl, combine the goat’s cheese, honey, and vanilla extract. Whip or stir until smooth and lightly aerated.
Spread the whipped goat’s cheese generously over the warm toasted bread. Arrange the sliced figs on top, layering gently.
Sprinkle over the finely chopped pistachios, allowing some to fall naturally across the surface for texture.
Finish with a light drizzle of honey and a small pinch of black pepper if desired.
Tips for the Best Whipped Goats Cheese Toast w Figs and Pistachio Crumbs
Use room-temperature goat cheese so it whips up light and airy rather than dense or clumpy.
Toast the bread until deeply golden — a sturdy base holds up to the toppings without going soggy.
Toast the pistachios lightly in a dry pan for a minute or two before chopping; it deepens their flavour and adds extra crunch.
Choose figs that are slightly soft to the touch for the best sweetness, and slice them just before serving so they don’t weep.
A pinch of flaky salt alongside the black pepper balances the sweetness of the honey and figs beautifully.
Storage and Make-Ahead Tips
Whipped goats cheese toast w figs and pistachio crumbs is best enjoyed fresh, as the toast can soften once topped. If you want to get ahead, whip the goat cheese mixture up to two days in advance and store it in an airtight container in the fridge, then bring it back to room temperature before spreading. Chopped pistachios also keep well in a sealed jar for up to a week, so you can prep your crunchy topping ahead of time. Once assembled, this toast is best eaten within 15 to 20 minutes for the perfect contrast of warm bread, cool creamy cheese and juicy figs.
Ingredient Swaps
Not a fan of figs, or can’t find them in season? Sliced pears, fresh berries or a spoonful of fig jam all make lovely substitutes. Ricotta or mascarpone can stand in for the goat cheese if you prefer a milder flavour, and walnuts or almonds work well in place of pistachios. For a savoury twist, swap the honey drizzle for a touch of balsamic glaze.
Perfect for Brunch or Entertaining
Whipped goats cheese toast w figs and pistachio crumbs is just as suited to a lazy weekend brunch as it is to a starter for a dinner party. Slice the toast into smaller pieces and serve on a platter for an easy grazing-style appetiser, or keep it whole for a satisfying light lunch alongside a simple green salad. It pairs beautifully with a crisp glass of sparkling wine or a fresh mint tea, and comes together fast enough to make even on a busy morning. Either way, it’s a simple recipe worth keeping on repeat all year round.
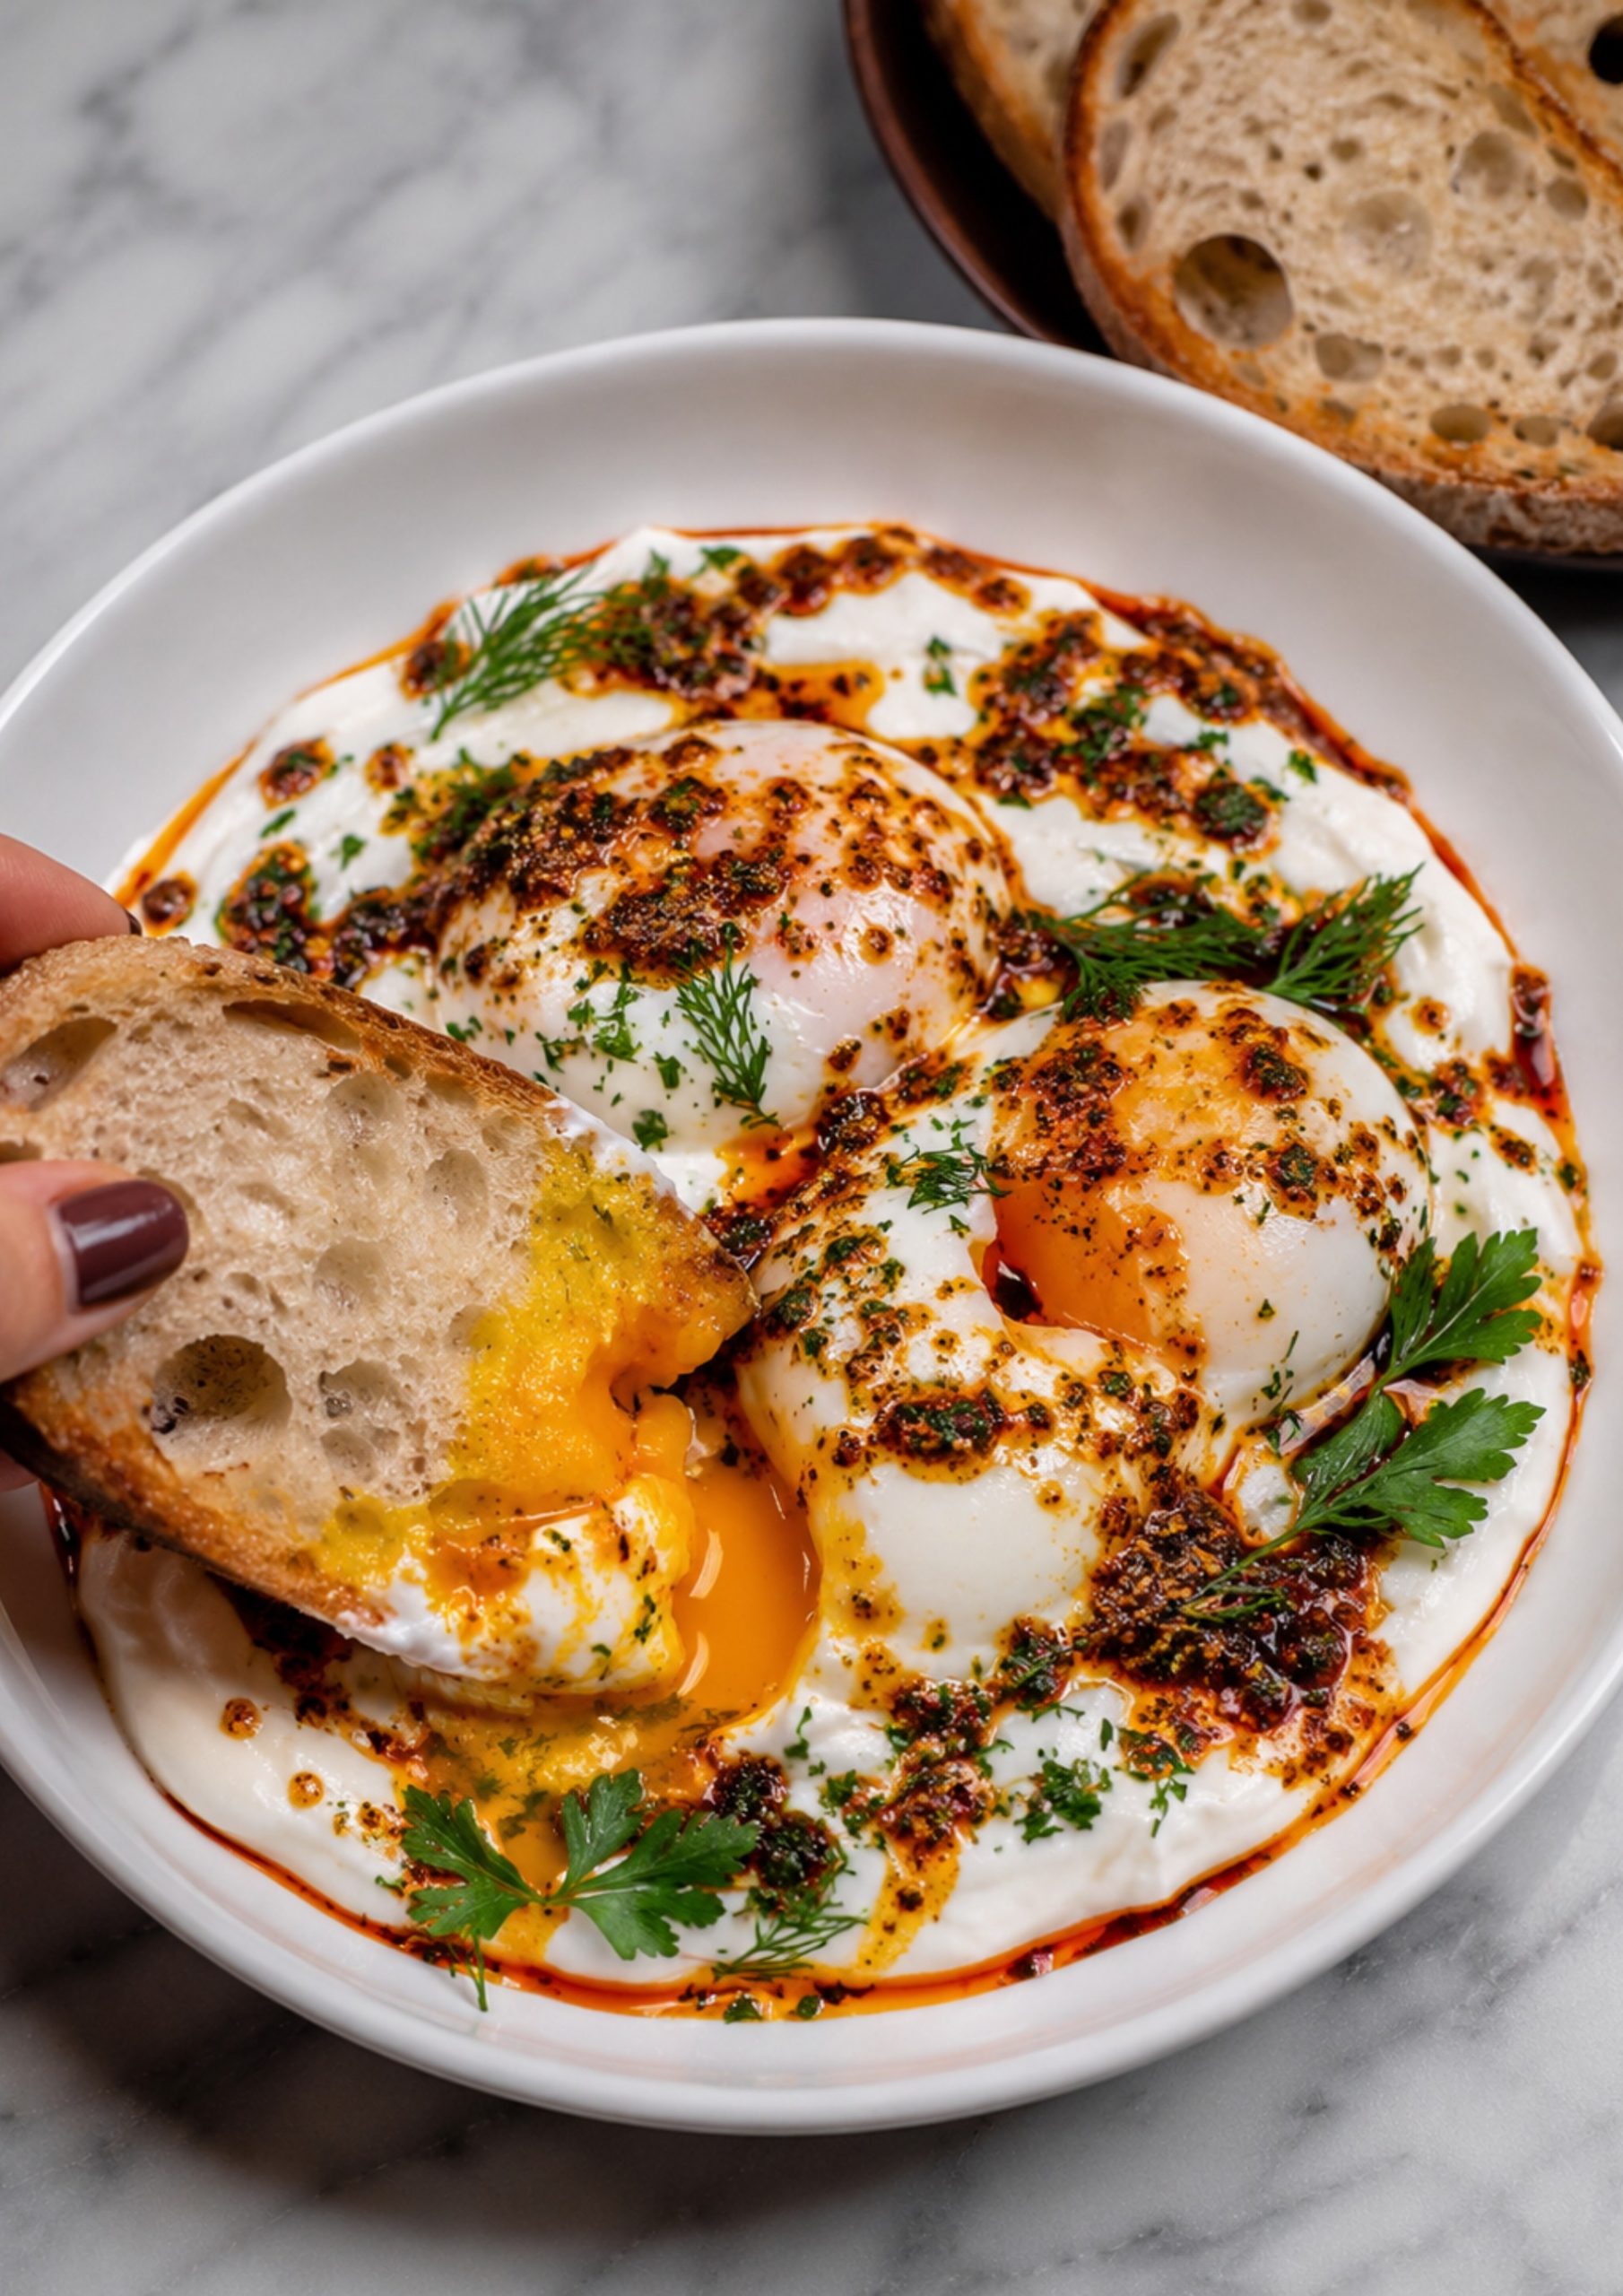
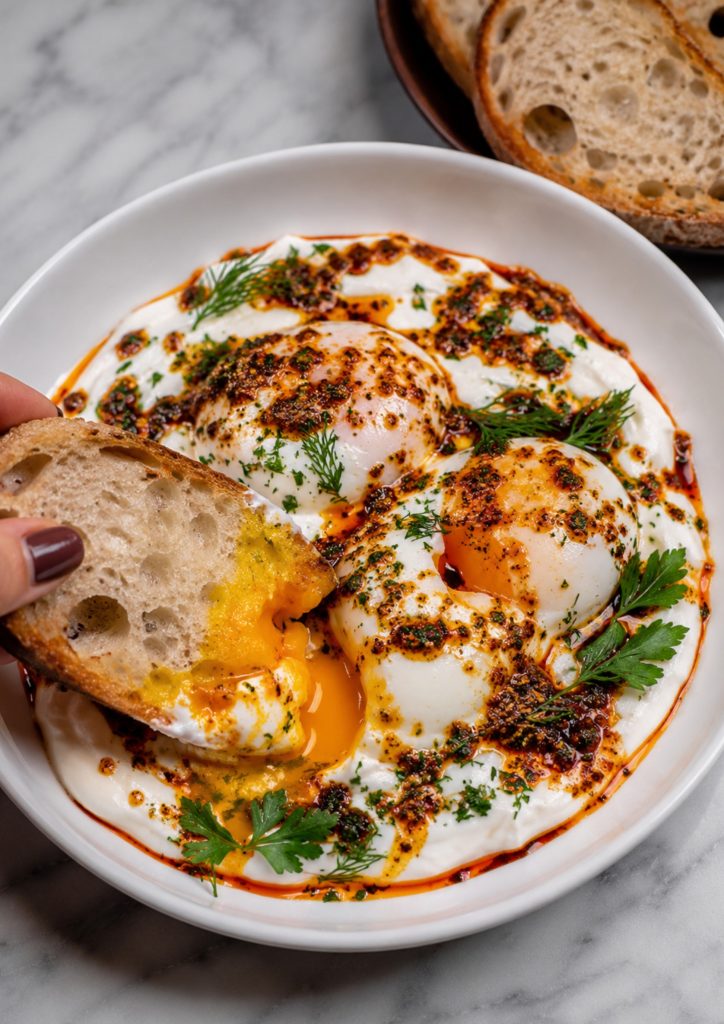
Soft poached eggs served over a thick labneh base, finished with crispy chilli oil, herbs and toasted sourdough for dipping. Serve with warm, crusty bread for scooping up every last bit.
Why This Çılbır Turkish Eggs Recipe Works
Çılbır Turkish eggs is a classic Turkish breakfast dish that turns simple poached eggs into something really special. The garlicky yoghurt base cools down the rich, runny yolk, while the crispy chilli oil adds a punch of heat and colour. This çılbır Turkish eggs version comes together in under 15 minutes, making it perfect for a lazy weekend brunch or a quick, satisfying dinner.
SERVES 2 TIME: 15 MINS ~ 700 calories per serve ~ 33g protein per serve
Ingredients
1cup labneh
1 small garlic clove, grated
1 tsp lemon juice
1 tbsp olive oil
4 eggs
1 tbsp white vinegar
2–3 tbsp crispy chilli oil
1 tbsp fresh dill, chopped
1 tbsp fresh parsley, chopped
Salt and cracked black pepper
Toasted sourdough or flatbread, to serve
Method
Mix labneh, garlic, lemon juice, olive oil, a pinch of salt and pepper until smooth. Spread into a shallow serving bowl.
Bring a saucepan of water to a gentle simmer and add vinegar.
Crack eggs into small cups, then slide into the water. Poach for 3–4 minutes, until the whites are set and yolks are still soft. Lift eggs out with a slotted spoon and drain briefly on paper towel.
Place eggs over the labneh, then spoon over crispy chilli oil. Finish with dill, parsley, cracked pepper and a little extra olive oil if desired.
Serve immediately with toasted sourdough for dipping.
Use the freshest eggs you can find, since fresh eggs hold their shape better and give you that classic soft, silky poach.
Add a splash of vinegar to the simmering water, this helps the egg whites set quickly around the yolk instead of feathering out.
Warm the labneh base gently before plating, a slightly warm base keeps the whole dish comforting rather than letting the eggs go cold too quickly.
Don’t skip the crispy chilli oil, it’s what gives çılbır its signature colour and a gentle background heat that balances the rich yolk and tangy yoghurt.
Storage and Reheating
Çılbır is really at its best served immediately, since poached eggs lose their soft, runny texture once refrigerated. That said, the garlicky labneh base and crispy chilli oil can both be made up to 2 days ahead and kept covered in the fridge, so all you need to do at serving time is poach the eggs and warm the labneh through. Leftover crispy chilli oil will keep in a sealed jar in the fridge for up to a week and is great drizzled over eggs, vegetables or flatbread.
Serving Suggestions
Çılbır is traditionally served as part of a big Turkish breakfast spread, alongside olives, cheese, tomatoes and plenty of warm bread for scooping up the labneh. For a heartier brunch, pair it with our Homemade Baked Beans and some extra toasted sourdough on the side. Labneh itself is a strained yoghurt cheese popular across the Middle East, and it’s well worth keeping a batch in the fridge to spread on toast or stir through salads.
However you serve it, this çılbır Turkish eggs recipe is guaranteed to become a regular in your brunch rotation. Give it a try this weekend. Your future breakfast self will thank you for it. Enjoy every last bite. Afiyet olsun!
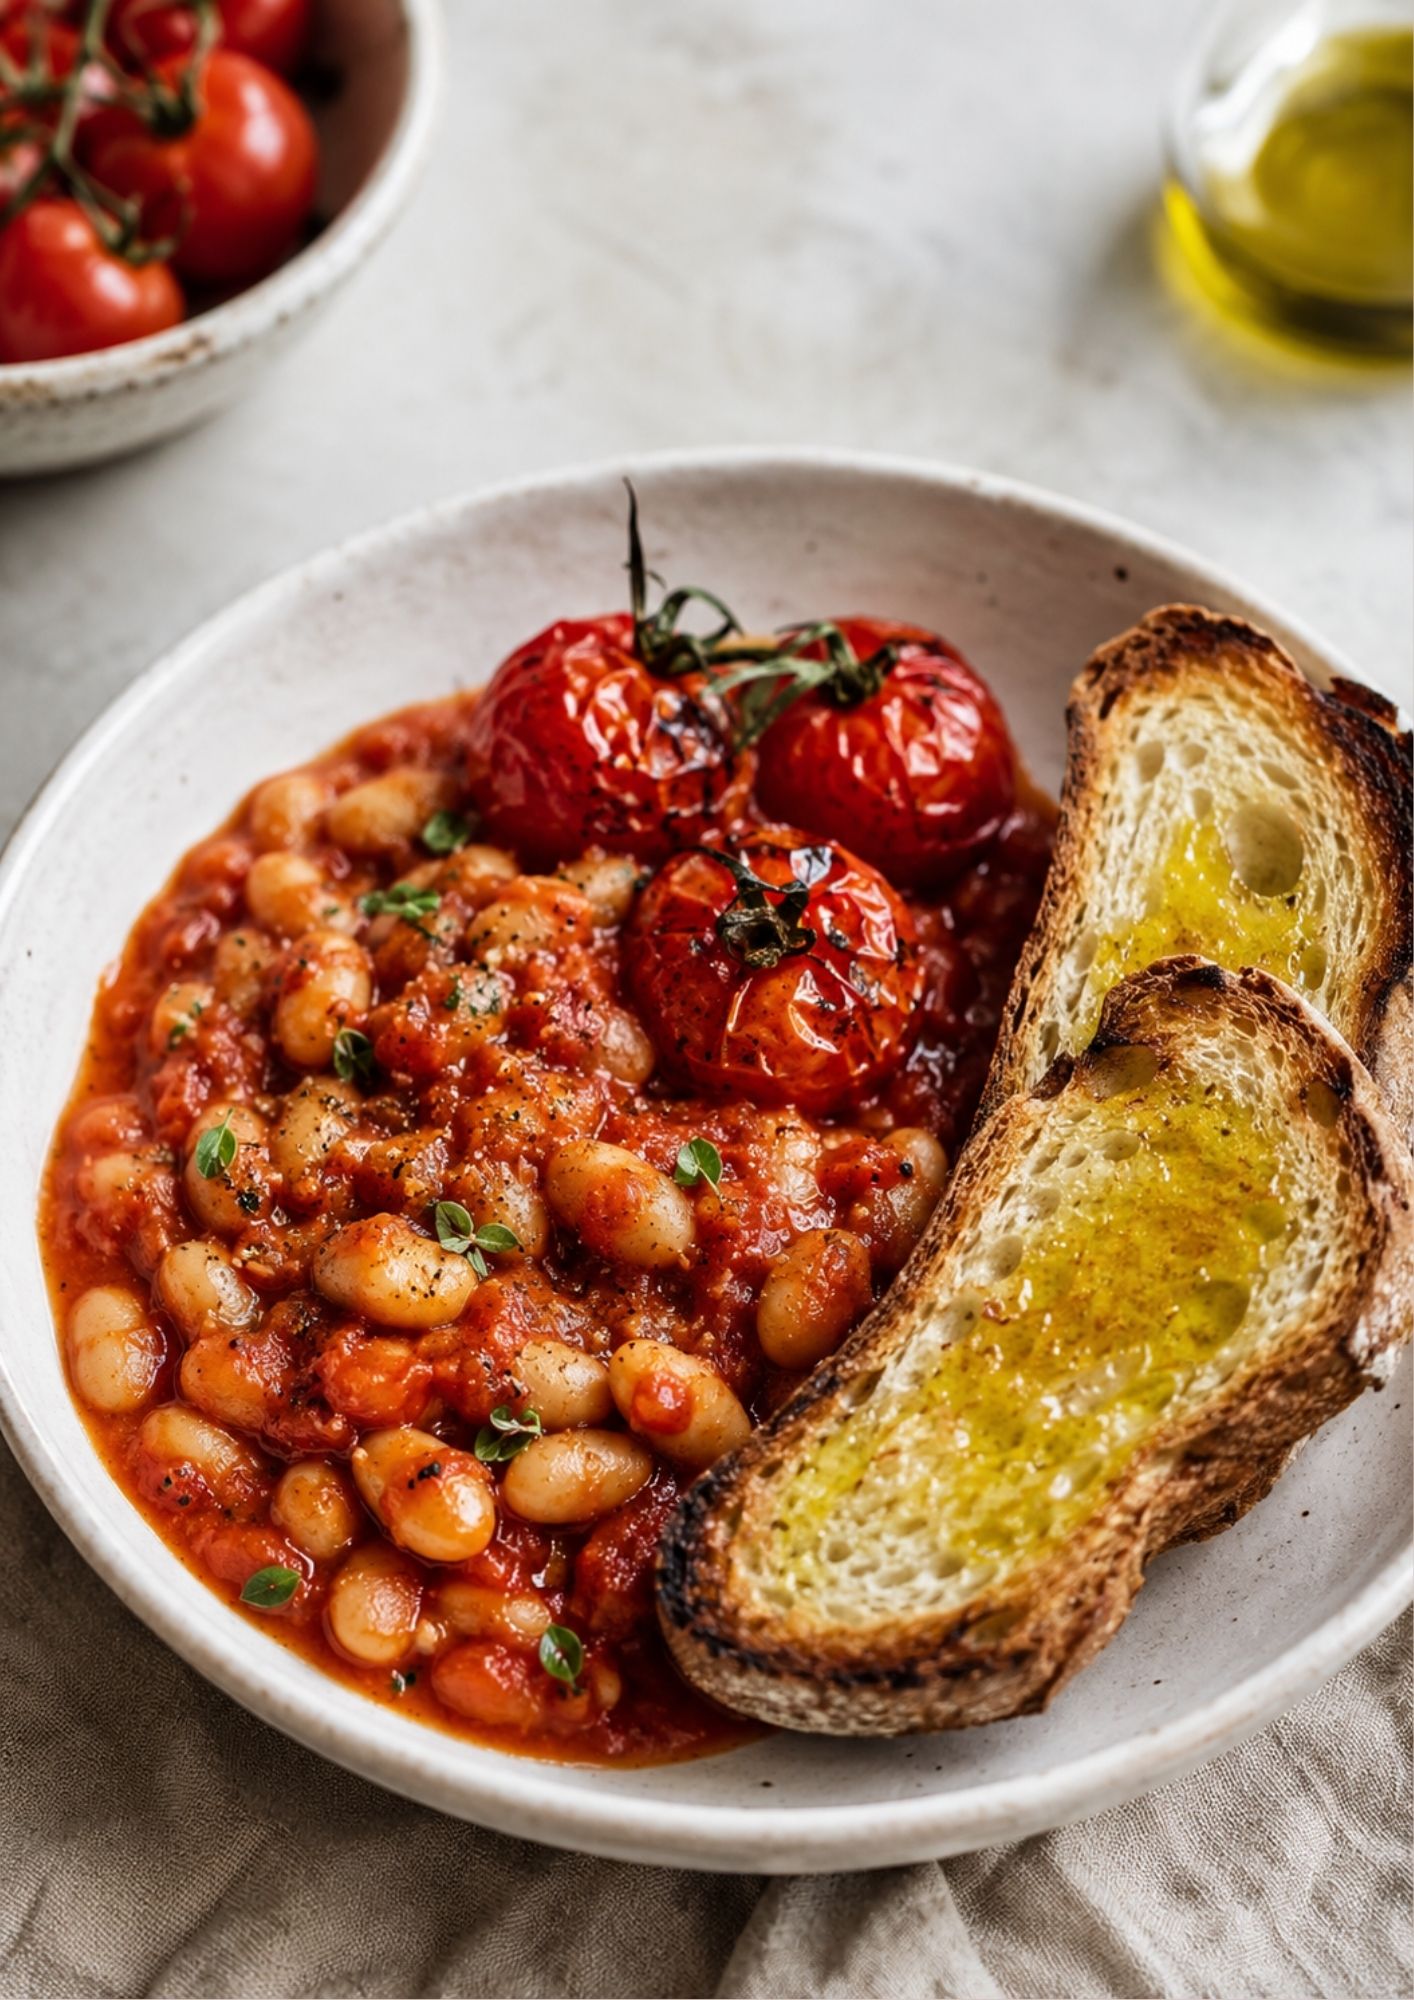
Rich smoky baked beans with roasted tomatoes, herbs and golden sourdough for a comforting, café-style breakfast or brunch.
Why This Homemade Baked Beans Recipe Works
This homemade baked beans recipe works because it swaps out canned sauce for a quick, from-scratch base of roasted tomatoes, garlic and smoked paprika. The result is deeper, smokier flavour than store-bought, but it still comes together in about 10 minutes thanks to good-quality tinned beans. Piled onto golden sourdough toast, it’s a comforting café-style breakfast you can easily make at home.
Serves 2 · Time: 10 mins · ~550 calories per serve · ~22g protein per serve
For the Baked Beans
1 tbsp olive oil
1 small brown onion or shallot, finely diced
2 garlic cloves, chopped
1 tbsp tomato paste
1 tsp smoked paprika
1 tsp dried oregano
1 x 400g tin cannellini beans or butter beans, drained and rinsed
1 x 400g tin crushed tomatoes
1 tbsp maple syrup or brown sugar
1 tbsp balsamic vinegar
Salt and black pepper
For the Roasted Tomatoes
200g cherry tomatoes or truss tomatoes
1 tsp olive oil
Salt and black pepper
To Serve
2-4 slices sourdough or crusty bread
Extra virgin olive oil
Fresh parsley or basil
Chilli flakes, optional
Method
Preheat the oven to 200°C. Place the cherry tomatoes on a small baking tray, drizzle with olive oil and season with salt and pepper. Roast for 15-20 minutes, or until blistered, soft and slightly caramelised.
Meanwhile, heat the olive oil in a pan over medium heat. Add the onion and cook for 3-4 minutes, until softened. Add the garlic, tomato paste, smoked paprika and oregano, then cook for another minute until fragrant.
Stir in the beans, crushed tomatoes, maple syrup and vinegar. Season with salt and pepper, then simmer gently for 15-20 minutes, stirring occasionally, until thick, glossy and rich. Add a splash of water if the sauce becomes too thick.
Toast or grill the bread until golden and crisp. Drizzle generously with extra virgin olive oil.
Spoon the baked beans into bowls and top with the roasted tomatoes. Finish with herbs, black pepper and chilli flakes if using. Serve with the olive oil toast on the side for scooping.
Swap out the toast to make this recipe gluten free.
Use fresh cherry or roma tomatoes and roast them until blistered for the deepest flavour.
Don’t skip the smoked paprika, it’s what gives these beans their signature smoky depth.
Simmer the sauce until it thickens slightly before adding the beans so it clings rather than pools.
Toast the sourdough until deeply golden so it holds up to the saucy beans.
Storage and Reheating
Store leftover homemade baked beans in an airtight container in the fridge for up to 4 days, or freeze for up to 3 months. Reheat gently on the stovetop or in the microwave, adding a splash of water if the sauce has thickened too much, and toast fresh sourdough just before serving.
Serving Suggestions
These homemade baked beans are brilliant on their own with sourdough, but they’re just as good alongside a fried or poached egg for extra protein. If you’re after another café-style breakfast, our Çılbır Turkish Eggs is a great next recipe to try. A little extra smoked paprika and a scattering of fresh herbs on top finish the dish nicely. It’s a simple breakfast that always feels like a treat. Give it a try this weekend. You’ll love it.
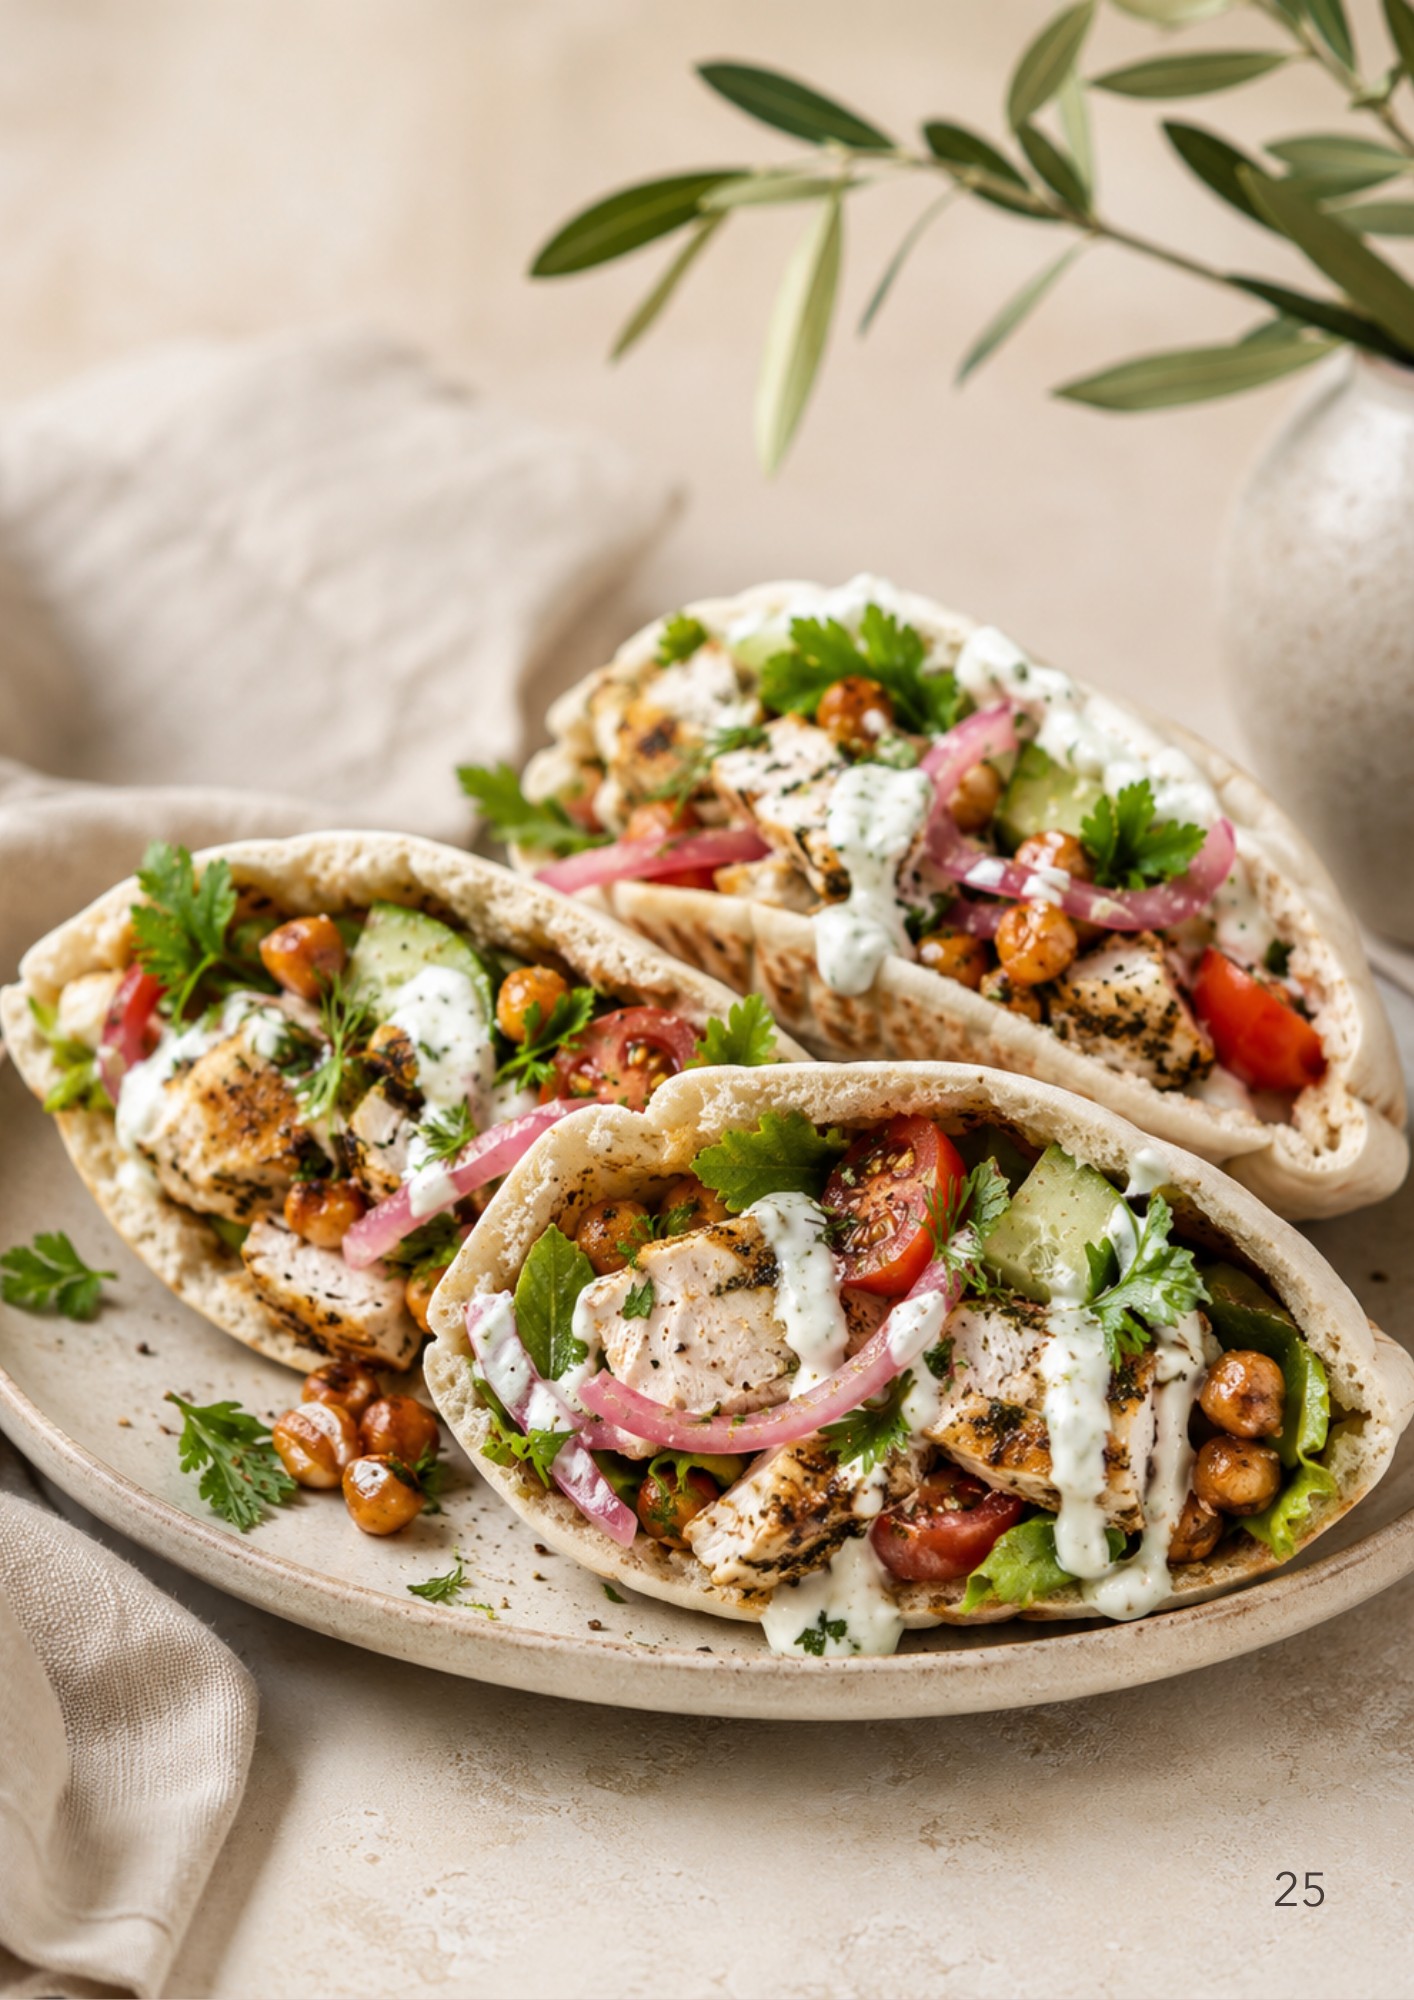
Greek chicken pitas with tzatziki and crispy chickpeas bring warm grilled chicken, spiced crispy chickpeas and a cool herby tzatziki, all packed into soft pita with crunchy vegetables and pickled onion. It’s a weeknight favourite that’s fresh, filling and endlessly easy to customise.
Why These Greek Chicken Pitas with Tzatziki and Crispy Chickpeas Work
These Greek chicken pitas with tzatziki and crispy chickpeas come together in under 30 minutes, which makes them perfect for busy weeknights. Tzatziki is a cool, garlicky Greek yogurt sauce that balances the warm spiced chicken and crunchy chickpeas nicely. For a full Mediterranean-style spread, serve alongside a Panzanella Salad and extra warm pita on the side.
Ingredients
2 boneless chicken breasts, sliced into thin strips
2 tbsp olive oil, plus extra for the chickpeas
1 tsp dried oregano
½ tsp ground cumin
1 garlic clove, crushed
Juice of ½ lemon
1 x 400g can chickpeas, drained and patted dry
½ tsp smoked paprika
1 cup Greek yogurt
½ cucumber, grated and squeezed dry
1 small garlic clove, extra, finely grated
1 tbsp fresh dill or mint, chopped
4 pita breads, warmed
1 cup cherry tomatoes, halved
½ red onion, thinly sliced
Lettuce or baby spinach leaves
Salt and pepper, to taste
Method
In a bowl, toss the chicken strips with 1 tbsp olive oil, oregano, cumin, crushed garlic, lemon juice, salt and pepper. Set aside to marinate for 10–15 minutes.
Toss the chickpeas with a drizzle of olive oil and the smoked paprika. Spread on a tray and roast at 200°C (400°F) for 20 minutes, or pan-fry over medium-high heat, until golden and crisp.
Whisk together the yogurt, grated cucumber, extra garlic and dill or mint. Season with salt and set aside — this is your tzatziki.
Heat the remaining oil in a large pan or grill over medium-high heat. Cook the chicken for 3–4 minutes per side, until golden and cooked through. Rest for a few minutes, then slice.
Warm the pitas, then fill with lettuce, chicken, crispy chickpeas, tomatoes and red onion. Finish with a generous spoonful of tzatziki and serve straight away.
Squeeze as much liquid as you can out of the grated cucumber before mixing it into the yogurt — a watery tzatziki will make the pitas soggy.
Don’t overcrowd the pan when cooking the chicken; work in two batches if needed so it browns instead of steaming.
Warm the pita breads briefly in a dry pan or the oven so they’re pliable enough to fold without cracking.
Crisp the chickpeas properly and pat them very dry before roasting or pan-frying — any extra moisture stops them from crisping up.
Storage & Make-Ahead Tips
The chicken, tzatziki and chickpeas can all be made up to 2 days ahead and stored separately in airtight containers in the fridge — just warm the chicken and chickpeas gently before assembling. Leftover filled pitas don’t keep especially well, since the pita softens, so it’s best to store the components separately and build the pitas fresh. These Greek chicken pitas with tzatziki and crispy chickpeas also work well for meal prep lunches: pack the chicken, chickpeas, salad and tzatziki in separate containers and assemble just before eating. If you’re feeding a crowd, set everything out buffet-style and let everyone build their own — it’s an easy way to cater for different appetites and dietary needs at the table. A squeeze of lemon over the top just before serving really wakes up all the flavours. Extra dill or mint scattered on top adds a nice fresh finish too.